WARNING: This guide describes an older version of CashTrails.
5. Additional Fields - Account, Group, Party, Note
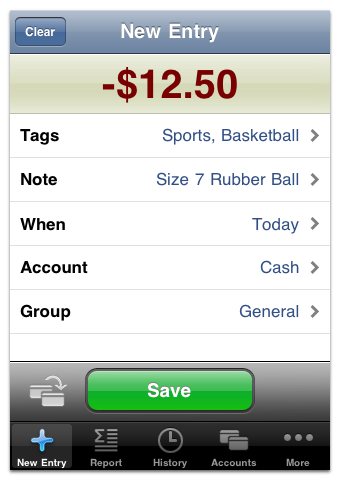
When creating an entry, you can specify additional properties, to describe it more precisely. Each property serves a particular purpose.
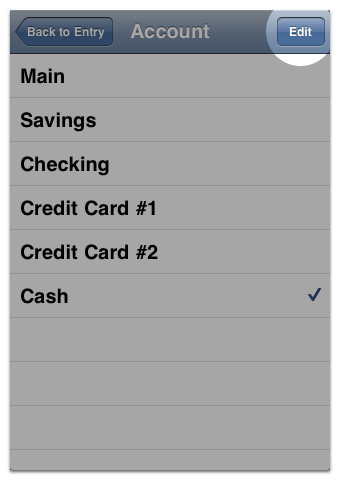
By pressing the Account row, you can select a different account for the entry.
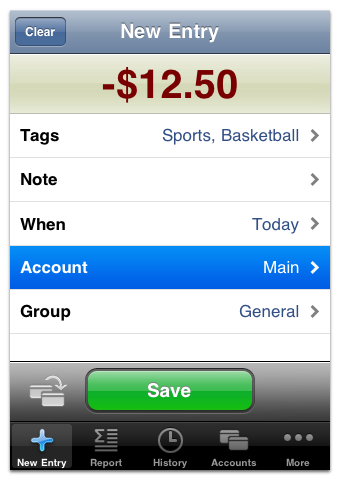
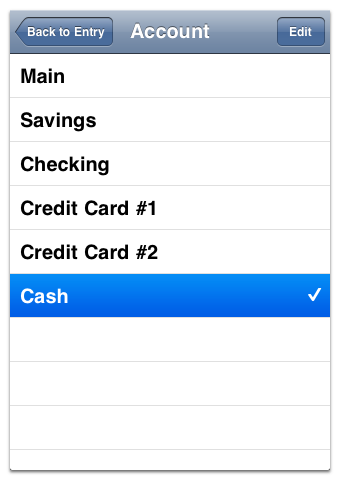
You can add new accounts or modify existing ones by pressing the Account row, and then the Edit button in the top right corner of the screen that appears.
To create a new account, tap on the "Add New Account...".
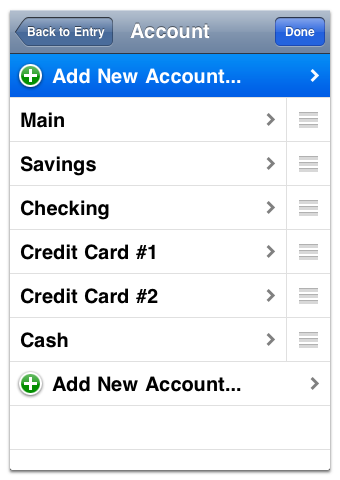
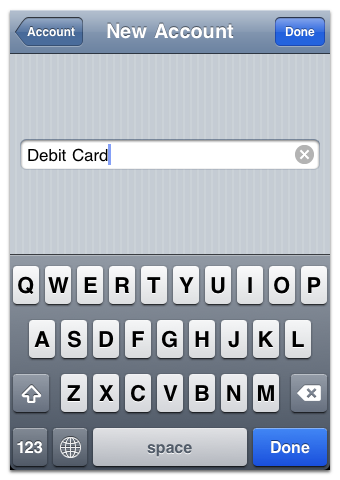
Choose a name for the new account and press the Done button to save it.
The new account will appear among the list of the existing ones.
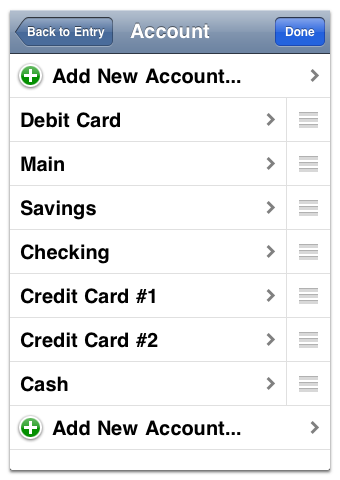
Accounts can be reordered, for example, to place more frequently used ones at the top of the list.
By selecting a particular account, you can change its name or remove it altogether.
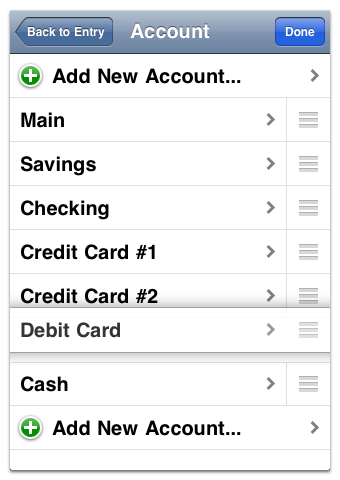
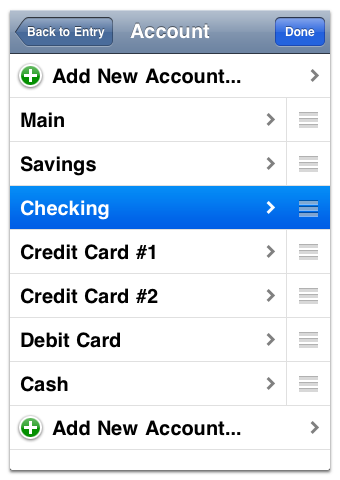
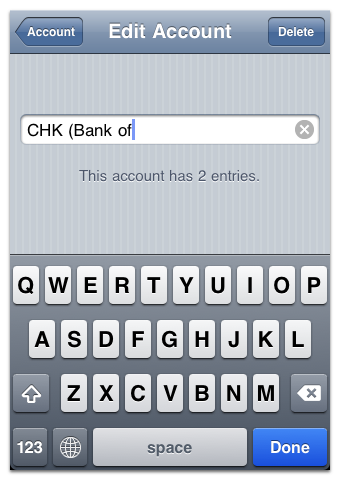
To rename the account, type the new name and press the Done button.
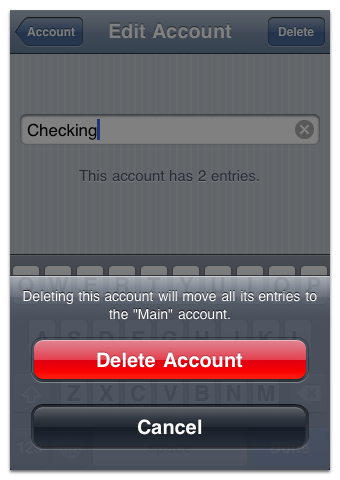
In order to remove the account, press the Delete button in the top right corner. Removing an account will move all its entries to the default one, usually called "Main".
In addition to specifying an account, you can also select a group for an entry. Groups can be used, for example, to separate everyday expenses from those made on a business or holiday trip.
You can also select a party, which is usually either a vendor/supplier/payee, or a client/payer.
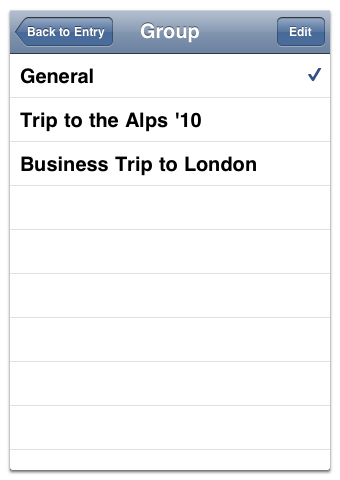
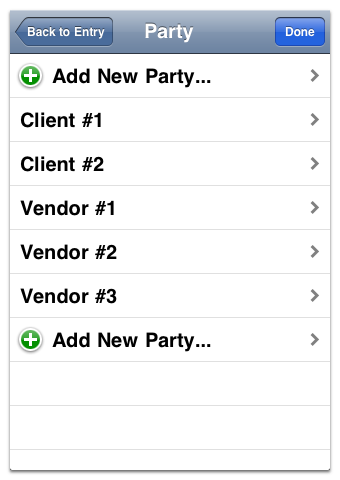
Groups and parties can be added or modified in pretty much the same way as accounts.
NOTE: Parties are turned off by default, and can be enabled via Settings. See Hiding Unnecessary Fields for more details.
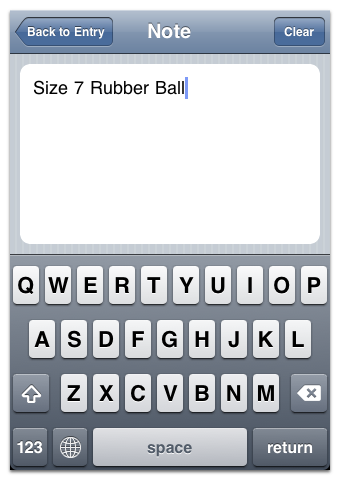
You can also add a text note to an entry.
